

How to Navigate the Galactic Map in Helldivers 2
How does the Galactic Map work, and why does it matter? If you’re new to Helldivers 2, the Galactic Map can look a bit overwhelming at first. It’s packed with planets, frontlines, influence bars, and ongoing operations. But once you understand how it works, it becomes one of the most exciting parts of the game. The map isn’t just decoration. It’s a living battlefield that reflects what every squad in the community is doing. Each mission you run pushes the war forward. So learning how to read and move around the map helps you choose missions smarter and support the types of battles you enjoy most.
What are Sectors, and how should beginners choose where to start? The map is divided into multiple sectors, and each one holds a mix of difficulty levels. For new players, it’s normal to feel unsure about where to deploy first. My advice is to start by looking for planets with lower threat levels and active campaigns. These usually offer steady progress and let you get used to mission flow without throwing you into chaos right away. As you gain experience, you’ll start to notice which sectors tend to attract more community attention, especially during major war events. Some players like to pick missions near the frontlines to help push them forward, while others prefer to clean up side objectives for steady rewards. When preparing for these missions, you might see other players mentioning ways to manage in-game resources, and topics like how people buy helldivers 2 super credits sometimes come up in community discussions about gearing up.
How do Planet Status and Timers affect your mission choices? Every planet has a status bar that shows how close it is to either liberation or defeat. This is one of the most important things to check before deploying. A planet that’s almost liberated usually means lots of squads are already grinding there, which makes finding teammates easier. Planets close to falling often have more intense missions but also better rewards. The timers matter too. A limited-time major order can completely shift the map, especially during big community pushes. If you see a countdown ticking down on a sector, that’s your signal to jump in if you want to contribute to the global goal. It’s one of the moments where the game really feels like a cooperative war effort rather than just random missions.
How should players interpret Threat Levels when navigating the map? Threat levels are basically difficulty indicators for each planet, but they also hint at enemy behavior. Higher-threat planets usually mean denser spawns, more aggressive units, and sometimes additional objectives. When you’re learning the system, it’s totally fine to stick to lower levels while you practice loadouts and get comfortable with stratagem timing. Over time, you’ll figure out which factions you enjoy fighting against. Some squads prefer bugs because their patterns are more predictable, while others thrive against bots thanks to their ranged combat style. As you get deeper into the game, especially on PS5 where matchmaking feels especially quick, you might hear people discuss whether to buy helldivers 2 super credits ps5 when talking about unlocking cosmetics or gear faster. It’s not required at all, but players do talk about it when gearing up for tougher planets.
How can you follow frontlines and understand where the war is heading next? Frontlines show the active zones where the biggest pushes are happening. When the line moves, it usually means the community completed a major order or won enough missions to shift influence. Following these movements is one of the fun parts of the game because it feels like you’re watching a real galactic war evolve. If you like big battles and lots of matchmaking activity, deploying near the frontline is usually the best move. You’ll also see certain tools or online services mentioned across player hubs when people organize squads or share farming strategies. Names like U4GM sometimes pop up during player-to-player discussions about resource management or game economies, though it’s always up to each player to decide how they want to progress.
What’s the best way to pick missions based on rewards and efficiency? Rewards vary by mission type. Operations with multiple objectives tend to give better overall payouts, but single-objective missions are faster if you're farming quick XP or requisition. When you hover over a mission, look carefully at its modifiers. These can change your strategy entirely. Extra armored enemies, dense patrols, or visibility changes can make even a simple mission feel much tougher. Some players prefer scouting for missions that match their loadout instead of constantly adapting their build. There’s no wrong approach here. If a mission looks fun, just jump in.
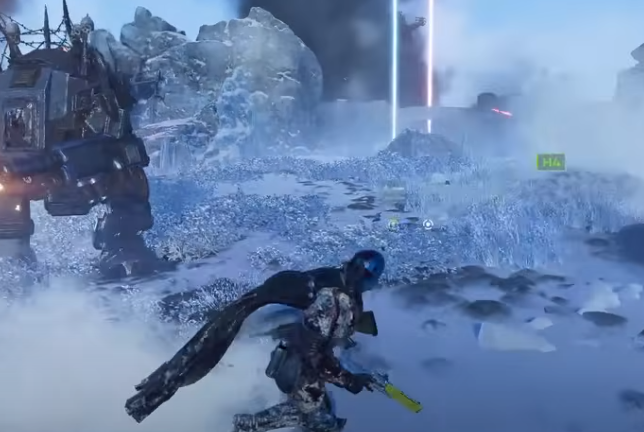
How do personal goals fit into navigating the Galactic Map? Even though the map reflects a giant community effort, you should still pick missions based on what you personally enjoy. If you prefer fighting bots, go to the sectors where they dominate. If you love short missions, pick planets with quick extract objectives. The map gives you tons of freedom. Over time, you’ll also develop your own habits, like checking planet bonuses or avoiding certain biomes. Snowstorms, for example, are a nightmare if you’re running vision-dependent builds, while forests can hide patrols a bit too well. The Galactic Map is basically a giant menu for the kind of gameplay you want that day.
So what’s the key to becoming comfortable with the Galactic Map? The map may look complex at first, but it becomes intuitive with practice. Check planet status, review threat levels, follow the frontlines, and pick missions that match your goals. The more you play, the more you’ll understand how your choices contribute to the war effort. Before long, you’ll find yourself checking the map not because you have to, but because you want to see how the community is shaping the galaxy.
Latest Update: Helldivers 2 Samples Farming Guide – Best Methods, Boosting Tips & Where to buy