

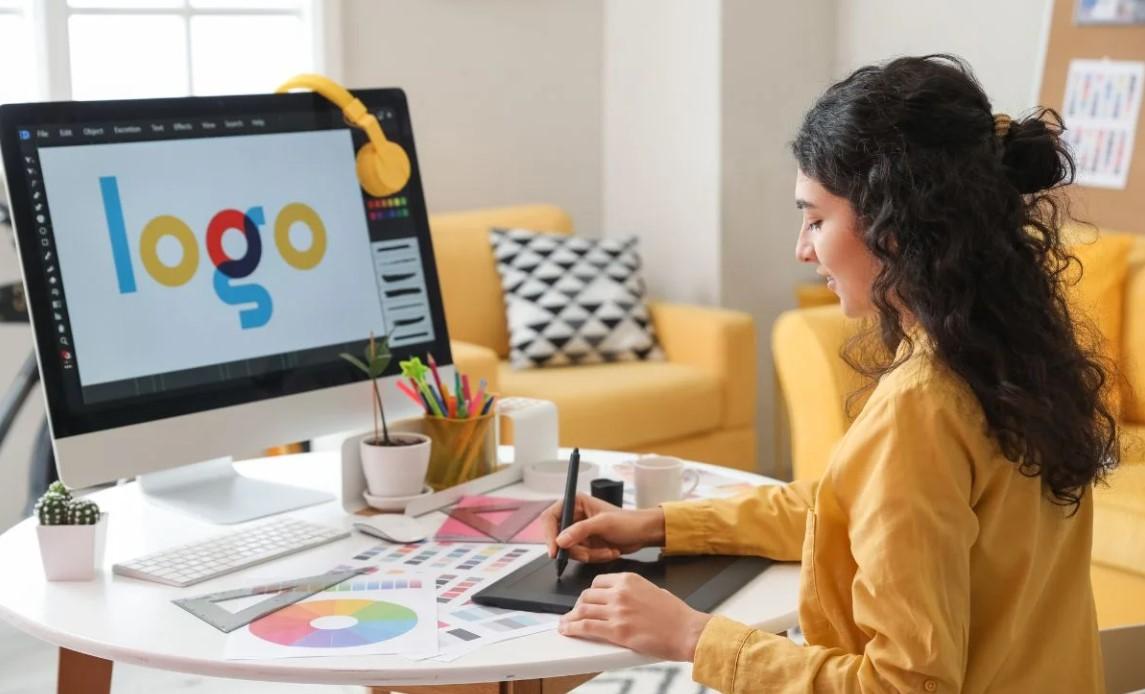
Beginner’s Guide to Digitize Logo for Embroidery Without Hassle
So, you’ve got a logo you want to stitch onto hats, shirts, or bags—but every time you try, it comes out looking like a thread tornado? You’re not alone. Digitizing a logo for embroidery is the secret sauce to turning pixel-perfect designs into stitch-perfect reality. But if you’re new to this, the process can feel overwhelming.
Don’t panic! This beginner-friendly guide breaks down everything you need to know to digitize a logo for embroidery like a pro—no prior experience required. Let’s turn that frustration into flawless stitching!
What Does It Mean to “Digitize” a Logo?
Digitizing is the process of converting a digital image (like your logo) into a file that tells an embroidery machine exactly where to place each stitch. Think of it as creating a GPS map for your embroidery machine’s needle.
Why Can’t I Just Use a JPEG or PNG?
- Embroidery machines don’t “see” images—they follow stitch commands (like where to start, stop, or change thread colors).
- A JPEG lacks instructions for stitch types, density, or thread paths.
Translation: Without digitizing, your machine won’t know how to stitch your logo correctly.
What You’ll Need to Get Started
Before diving in, gather these essentials:
1. Your Logo File
- Best formats: Vector files (AI, EPS, SVG) for crisp edges.
- If you only have a JPEG/PNG: Use free tools like Inkscape to trace and convert it to a vector.
2. Embroidery Digitizing Software
- Free options for beginners:
- Ink/Stitch (works with Inkscape)
- SewArt (auto-digitizing)
- Embrilliance Essentials
- Paid professional software: Wilcom Hatch, Brother PE-Design
3. An Embroidery Machine
Even a basic home machine (like the Brother SE600) will work for small logos.
4. Patience & Scrap Fabric
Expect a few test runs—mistakes are part of the learning curve!
Step-by-Step: How to Digitize a Logo for Embroidery
Step 1: Prep Your Logo
Simplify, simplify, simplify! Embroidery has limits, especially for small designs.
- Remove tiny details: Text smaller than 0.25 inches won’t stitch clearly.
- Avoid gradients: Use solid colors instead.
- Thicken thin lines: Hair-thin strokes may get lost.
Pro Tip: If editing in software like Photoshop, zoom in to 500% to spot problem areas.
Step 2: Choose Your Software
For beginners, Ink/Stitch (free) is a great starting point. Here’s why:
- Integrates with Inkscape (free vector software).
- Offers manual control over stitch types and paths.
- Active user community for troubleshooting.
Avoid auto-digitizing tools (like SewArt’s instant conversion) for logos—they often create messy, inefficient stitch patterns.
Step 3: Digitize Your Logo
Open your logo in Ink/Stitch and follow these key steps:
A. Trace the Design
- Use Inkscape’s “Trace Bitmap” tool to convert raster images to vectors.
- Delete unnecessary nodes to keep the design clean.
B. Assign Stitch Types
- Satin Stitches: For borders, text, and thin elements.
- Fill Stitches: For solid areas (like a logo’s background).
- Running Stitches: For outlines or fine details.
C. Adjust Stitch Settings
- Density: 4-6 stitches/mm for fills (avoids puckering).
- Underlay: Add a zigzag underlay for stability.
- Pull Compensation: Add 0.2-0.5mm to prevent fabric distortion.
D. Set Color Changes
- Group elements by color to minimize thread switches.
Step 4: Test Stitch on Scrap Fabric
Never skip this step!
- Hoop scrap fabric (similar to your final material).
- Watch for:
- Thread breaks → Adjust tension or reduce density.
- Puckering → Lower stitch density.
- Misaligned elements → Check design scaling.
Step 5: Save & Export the File
Once the test stitch looks good, export the design in your machine’s format:
- .PES (Brother)
- .DST (Tajima)
- .JEF (Janome)
Common Mistakes Beginners Make (And How to Avoid Them)
1. Using Too Many Colors
- Problem: Frequent thread changes slow production and increase errors.
- Fix: Simplify your logo to 1-3 thread colors.
2. Ignoring Fabric Type
- Problem: Stitching on stretchy fabric? A rigid design will pucker.
- Fix: Tell your software the fabric type or add cutaway stabilizer.
3. Overcomplicating Small Details
- Problem: A 10-pixel-wide detail in your logo becomes a blurry stitch blob.
- Fix: Enlarge the design or remove intricate elements.
4. Skipping the Underlay
- Problem: Stitches sink into the fabric, making the design look flat.
- Fix: Always add a zigzag or grid underlay for dimension.
DIY vs. Professional Digitizing: When to Hire a Pro
While DIY digitizing is possible, sometimes it’s worth paying a pro:
Scenario |
DIY |
Professional |
|
Simple logo (basic shapes) |
✅ |
❌ |
|
Complex logo (tiny text, gradients) |
❌ |
✅ |
|
Bulk orders (100+ pieces) |
❌ |
✅ |
|
Testing a hobby project |
✅ |
❌ |
Average Cost: Pros charge 15−15−75 per design, depending on complexity.
Free Resources to Learn More
- YouTube Tutorials: Search “Ink/Stitch digitizing for beginners.”
- Embroidery Forums: Reddit’s r/MachineEmbroidery or EmbroideryDesigns.com.
- Free Design Libraries: Embroidery Library offers free patterns to reverse-engineer.
Final Tips for Stress-Free Digitizing
- Start small—practice with basic shapes before tackling detailed logos.
- Label your files (e.g., “Logo_V1_PES”) to avoid confusion.
- Join a community—experienced embroiderers love sharing tips!
FAQs: Digitizing Logos for Embroidery
Q: Can I digitize a logo for free?
A: Yes! Use Ink/Stitch or SewArt, but expect a learning curve.
Q: How long does digitizing take?
A: For beginners, 2-4 hours per design. Pros can do it in 30 minutes.
Q: Why does my digitized logo look pixelated?
A: You might be using a low-resolution image. Start with a vector file.
Q: Can I edit a digitized file later?
A: Yes—software like Ink/Stitch lets you tweak stitches after saving.
Ready to Stitch Your Logo?
Digitizing a logo is part art, part science—but with practice, you’ll master it. Remember: Even pros made wonky designs at first. Grab your software, fire up your machine, and start stitching. Your brand (or hobby project) is about to get a whole lot sharper! 🧵✨
Categories
Read More
Pregnancy is one of the most special times in a woman’s life. Every heartbeat, every tiny kick, and every checkup brings parents closer to meeting their little one. One of the most exciting moments comes around the halfway mark — the 3D 4D ultrasound at 20 weeks. This amazing scan lets parents see their baby’s features clearly and watch movements in real time. If you live in...
In a world where entertainment lies at the fingertips, convenience becomes paramount. Everyone desires access to movies and television shows instantaneously, be it on their mobile devices. But not everyone enjoys high-speed internet, unlimited data, or paid OTT subscriptions. A Snapshot of Mp4Movies Mp4Movies is an online website offering movies, serials, and web series to...

L’Enutrof sur DOFUS Unity est souvent considéré comme un véritable couteau suisse, grâce à sa capacité à exploiter une multitude de mécaniques en fonction de son équipement. Cependant, suite aux récentes refontes, d’autres classes ont gagné en polyvalence, ce qui peut faire de l’ombre à...