

Beginner’s Guide to Digitize Logo for Embroidery Without Hassle
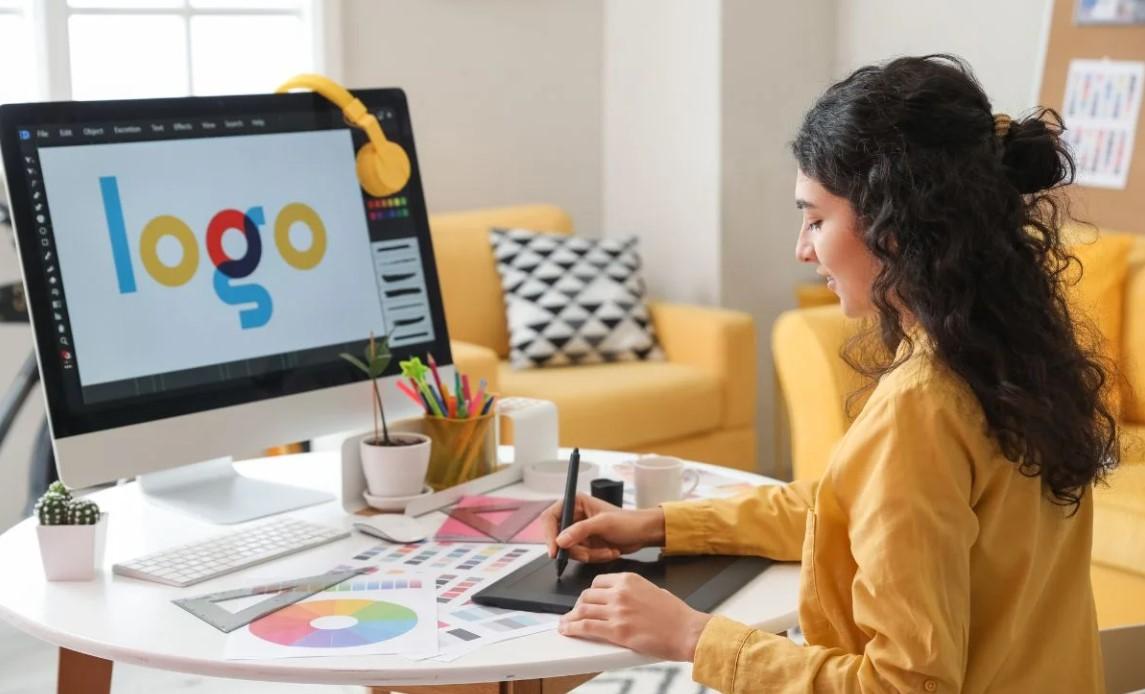
So, you’ve got a logo you want to stitch onto hats, shirts, or bags—but every time you try, it comes out looking like a thread tornado? You’re not alone. Digitizing a logo for embroidery is the secret sauce to turning pixel-perfect designs into stitch-perfect reality. But if you’re new to this, the process can feel overwhelming.
Don’t panic! This beginner-friendly guide breaks down everything you need to know to digitize a logo for embroidery like a pro—no prior experience required. Let’s turn that frustration into flawless stitching!
What Does It Mean to “Digitize” a Logo?
Digitizing is the process of converting a digital image (like your logo) into a file that tells an embroidery machine exactly where to place each stitch. Think of it as creating a GPS map for your embroidery machine’s needle.
Why Can’t I Just Use a JPEG or PNG?
- Embroidery machines don’t “see” images—they follow stitch commands (like where to start, stop, or change thread colors).
- A JPEG lacks instructions for stitch types, density, or thread paths.
Translation: Without digitizing, your machine won’t know how to stitch your logo correctly.
What You’ll Need to Get Started
Before diving in, gather these essentials:
1. Your Logo File
- Best formats: Vector files (AI, EPS, SVG) for crisp edges.
- If you only have a JPEG/PNG: Use free tools like Inkscape to trace and convert it to a vector.
2. Embroidery Digitizing Software
- Free options for beginners:
- Ink/Stitch (works with Inkscape)
- SewArt (auto-digitizing)
- Embrilliance Essentials
- Paid professional software: Wilcom Hatch, Brother PE-Design
3. An Embroidery Machine
Even a basic home machine (like the Brother SE600) will work for small logos.
4. Patience & Scrap Fabric
Expect a few test runs—mistakes are part of the learning curve!
Step-by-Step: How to Digitize a Logo for Embroidery
Step 1: Prep Your Logo
Simplify, simplify, simplify! Embroidery has limits, especially for small designs.
- Remove tiny details: Text smaller than 0.25 inches won’t stitch clearly.
- Avoid gradients: Use solid colors instead.
- Thicken thin lines: Hair-thin strokes may get lost.
Pro Tip: If editing in software like Photoshop, zoom in to 500% to spot problem areas.
Step 2: Choose Your Software
For beginners, Ink/Stitch (free) is a great starting point. Here’s why:
- Integrates with Inkscape (free vector software).
- Offers manual control over stitch types and paths.
- Active user community for troubleshooting.
Avoid auto-digitizing tools (like SewArt’s instant conversion) for logos—they often create messy, inefficient stitch patterns.
Step 3: Digitize Your Logo
Open your logo in Ink/Stitch and follow these key steps:
A. Trace the Design
- Use Inkscape’s “Trace Bitmap” tool to convert raster images to vectors.
- Delete unnecessary nodes to keep the design clean.
B. Assign Stitch Types
- Satin Stitches: For borders, text, and thin elements.
- Fill Stitches: For solid areas (like a logo’s background).
- Running Stitches: For outlines or fine details.
C. Adjust Stitch Settings
- Density: 4-6 stitches/mm for fills (avoids puckering).
- Underlay: Add a zigzag underlay for stability.
- Pull Compensation: Add 0.2-0.5mm to prevent fabric distortion.
D. Set Color Changes
- Group elements by color to minimize thread switches.
Step 4: Test Stitch on Scrap Fabric
Never skip this step!
- Hoop scrap fabric (similar to your final material).
- Watch for:
- Thread breaks → Adjust tension or reduce density.
- Puckering → Lower stitch density.
- Misaligned elements → Check design scaling.
Step 5: Save & Export the File
Once the test stitch looks good, export the design in your machine’s format:
- .PES (Brother)
- .DST (Tajima)
- .JEF (Janome)
Common Mistakes Beginners Make (And How to Avoid Them)
1. Using Too Many Colors
- Problem: Frequent thread changes slow production and increase errors.
- Fix: Simplify your logo to 1-3 thread colors.
2. Ignoring Fabric Type
- Problem: Stitching on stretchy fabric? A rigid design will pucker.
- Fix: Tell your software the fabric type or add cutaway stabilizer.
3. Overcomplicating Small Details
- Problem: A 10-pixel-wide detail in your logo becomes a blurry stitch blob.
- Fix: Enlarge the design or remove intricate elements.
4. Skipping the Underlay
- Problem: Stitches sink into the fabric, making the design look flat.
- Fix: Always add a zigzag or grid underlay for dimension.
DIY vs. Professional Digitizing: When to Hire a Pro
While DIY digitizing is possible, sometimes it’s worth paying a pro:
Scenario |
DIY |
Professional |
|
Simple logo (basic shapes) |
✅ |
❌ |
|
Complex logo (tiny text, gradients) |
❌ |
✅ |
|
Bulk orders (100+ pieces) |
❌ |
✅ |
|
Testing a hobby project |
✅ |
❌ |
Average Cost: Pros charge 15−15−75 per design, depending on complexity.
Free Resources to Learn More
- YouTube Tutorials: Search “Ink/Stitch digitizing for beginners.”
- Embroidery Forums: Reddit’s r/MachineEmbroidery or EmbroideryDesigns.com.
- Free Design Libraries: Embroidery Library offers free patterns to reverse-engineer.
Final Tips for Stress-Free Digitizing
- Start small—practice with basic shapes before tackling detailed logos.
- Label your files (e.g., “Logo_V1_PES”) to avoid confusion.
- Join a community—experienced embroiderers love sharing tips!
FAQs: Digitizing Logos for Embroidery
Q: Can I digitize a logo for free?
A: Yes! Use Ink/Stitch or SewArt, but expect a learning curve.
Q: How long does digitizing take?
A: For beginners, 2-4 hours per design. Pros can do it in 30 minutes.
Q: Why does my digitized logo look pixelated?
A: You might be using a low-resolution image. Start with a vector file.
Q: Can I edit a digitized file later?
A: Yes—software like Ink/Stitch lets you tweak stitches after saving.
Ready to Stitch Your Logo?
Digitizing a logo is part art, part science—but with practice, you’ll master it. Remember: Even pros made wonky designs at first. Grab your software, fire up your machine, and start stitching. Your brand (or hobby project) is about to get a whole lot sharper! 🧵✨
Kategoriler
Read More
In today’s fast-paced world, women need a reliable way to support their overall health, energy, and vitality. From balancing hormones to maintaining a strong immune system, finding the right supplement is essential. That’s where gummies for women come in. LIVS Gummies has crafted premium Shilajit Gummies designed specifically for women to promote energy, hormonal balance, and...
A thaw may be forming in the long-running dispute between Britain’s film performers and producers, frozen since December. Equity has summoned its council for a special meeting on March 5 to seek authority to reopen formal negotiations with producers’ trade body, Pact. The two sides split in early December when talks collapsed over terms for a replacement to the contract that lapsed...

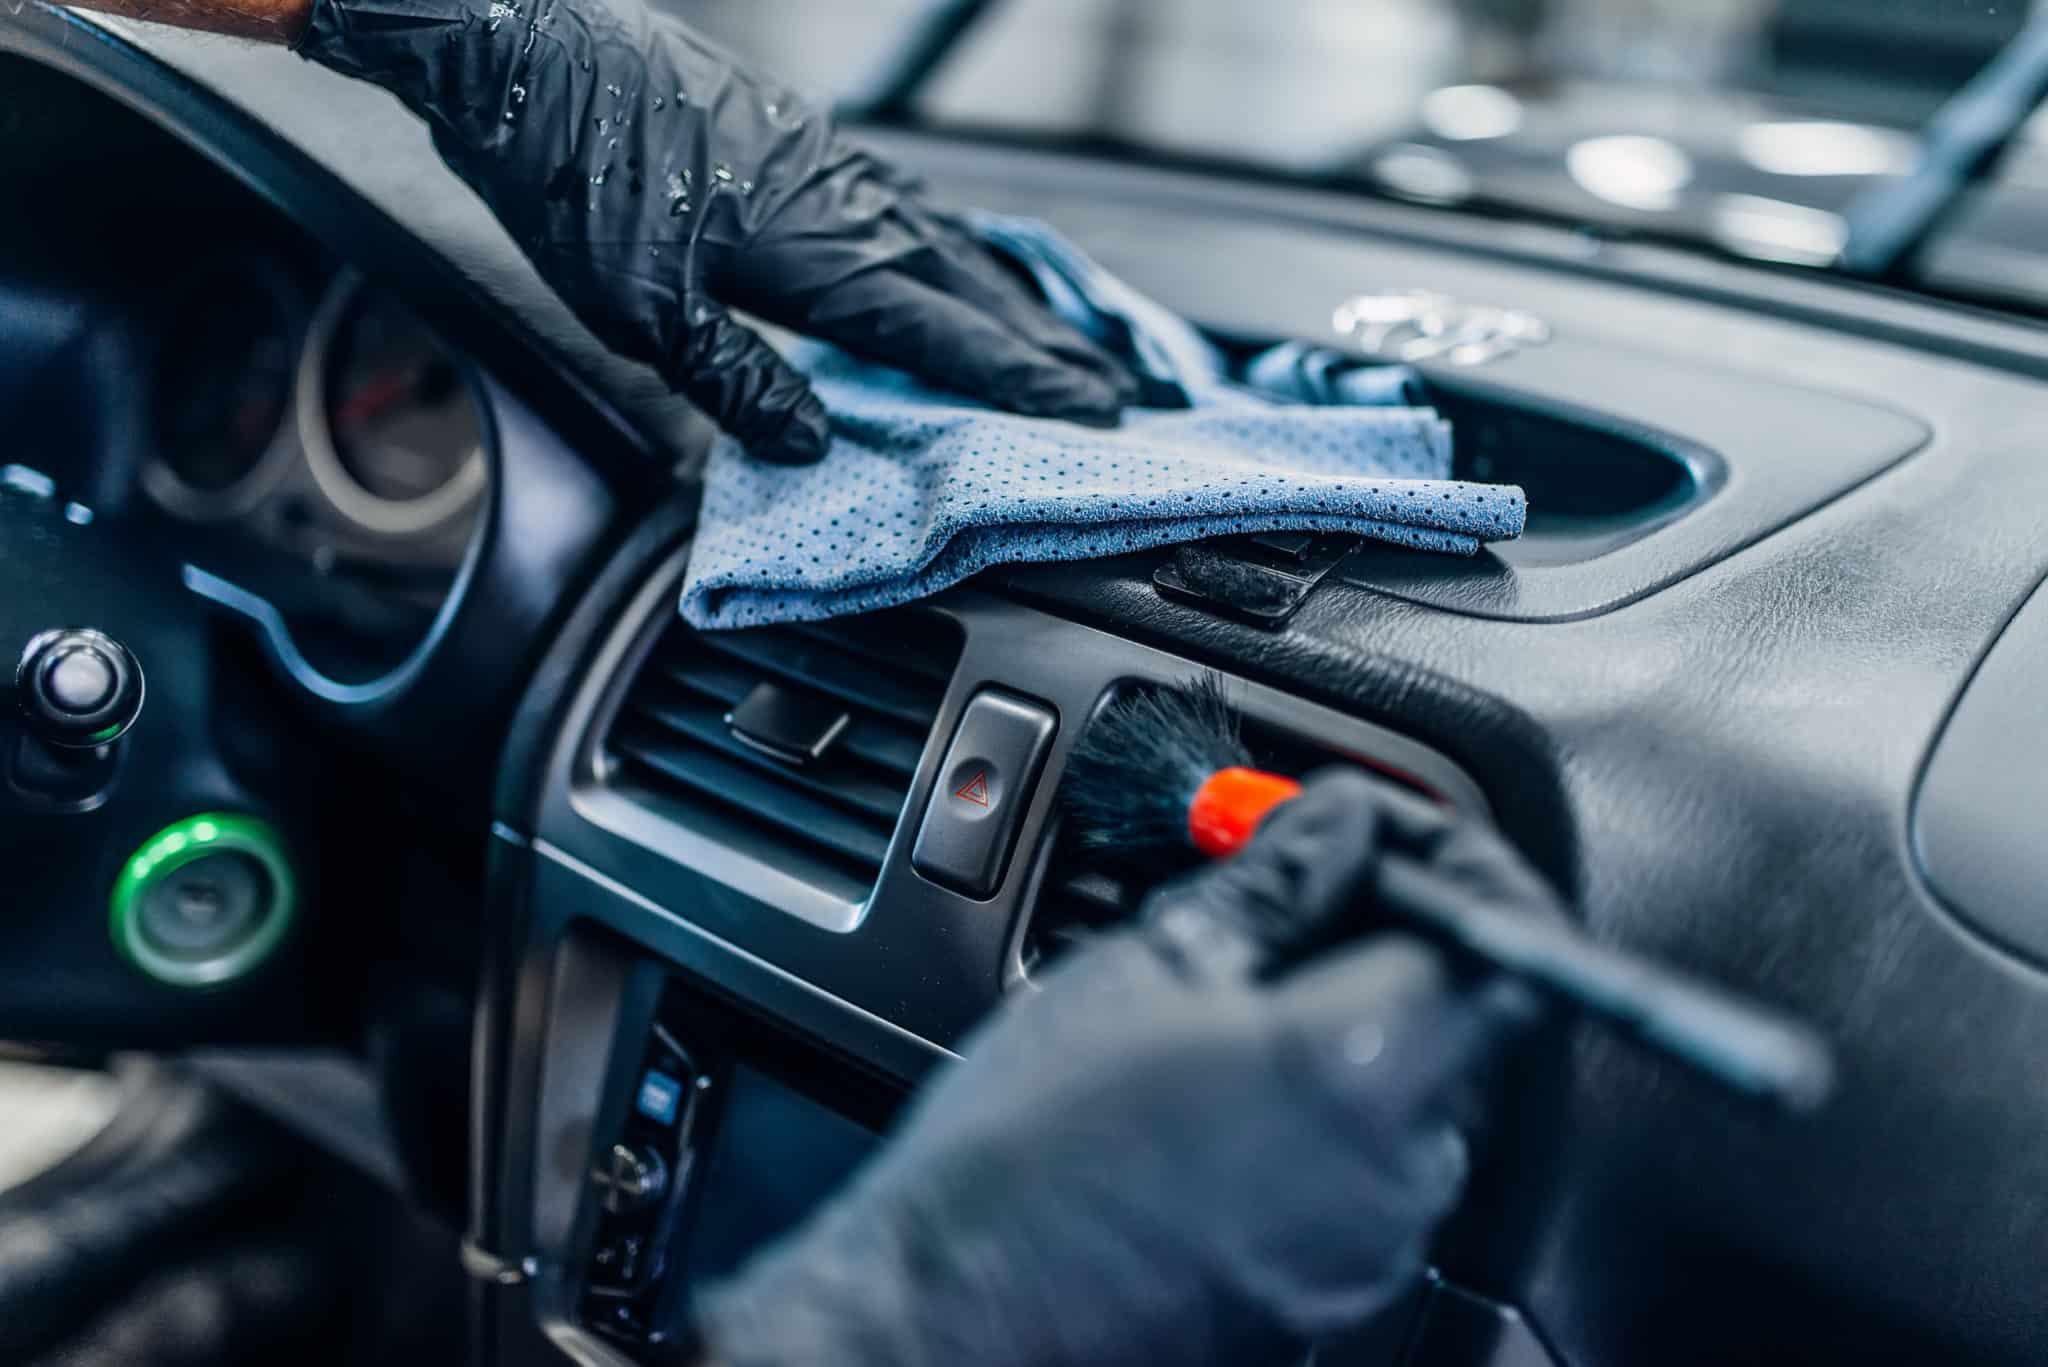
Introduction: The Importance of a Clean and Shiny CarKeeping your car clean is more than just about looks and style. It’s about maintaining its value, protecting the paint, and enjoying a comfortable ride. Many people overlook how much difference a detailed cleaning can make for their car. When a car looks spotless, it feels brand new and enjoyable to drive again. In O’Fallon, MO,...
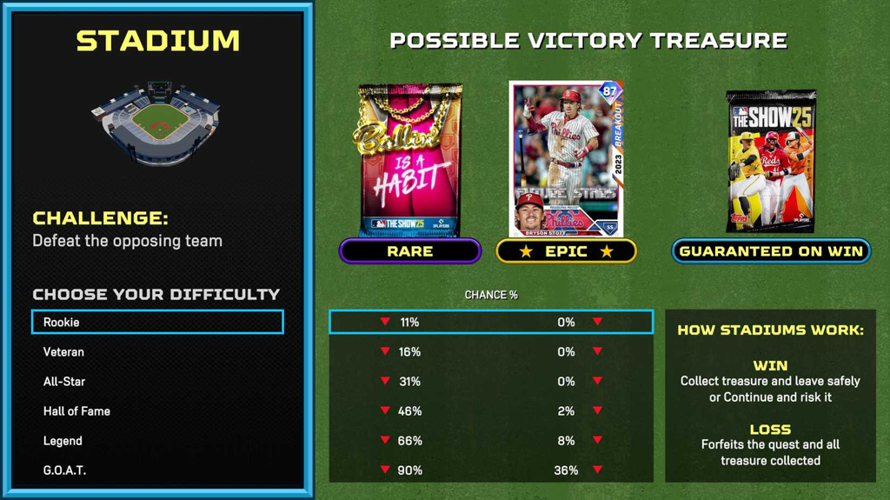
Diamond Quest Mechanics Diamond Quest in MLB The Show 25 is a new addition to the Diamond Dynasty mode, offering players a chance to earn unique rewards through a series of challenges. Since this mode is unfamiliar to many, understanding its mechanics can be confusing at first. This guide aims to clarify how to effectively navigate and maximize your chances in Diamond Quest. When you start...